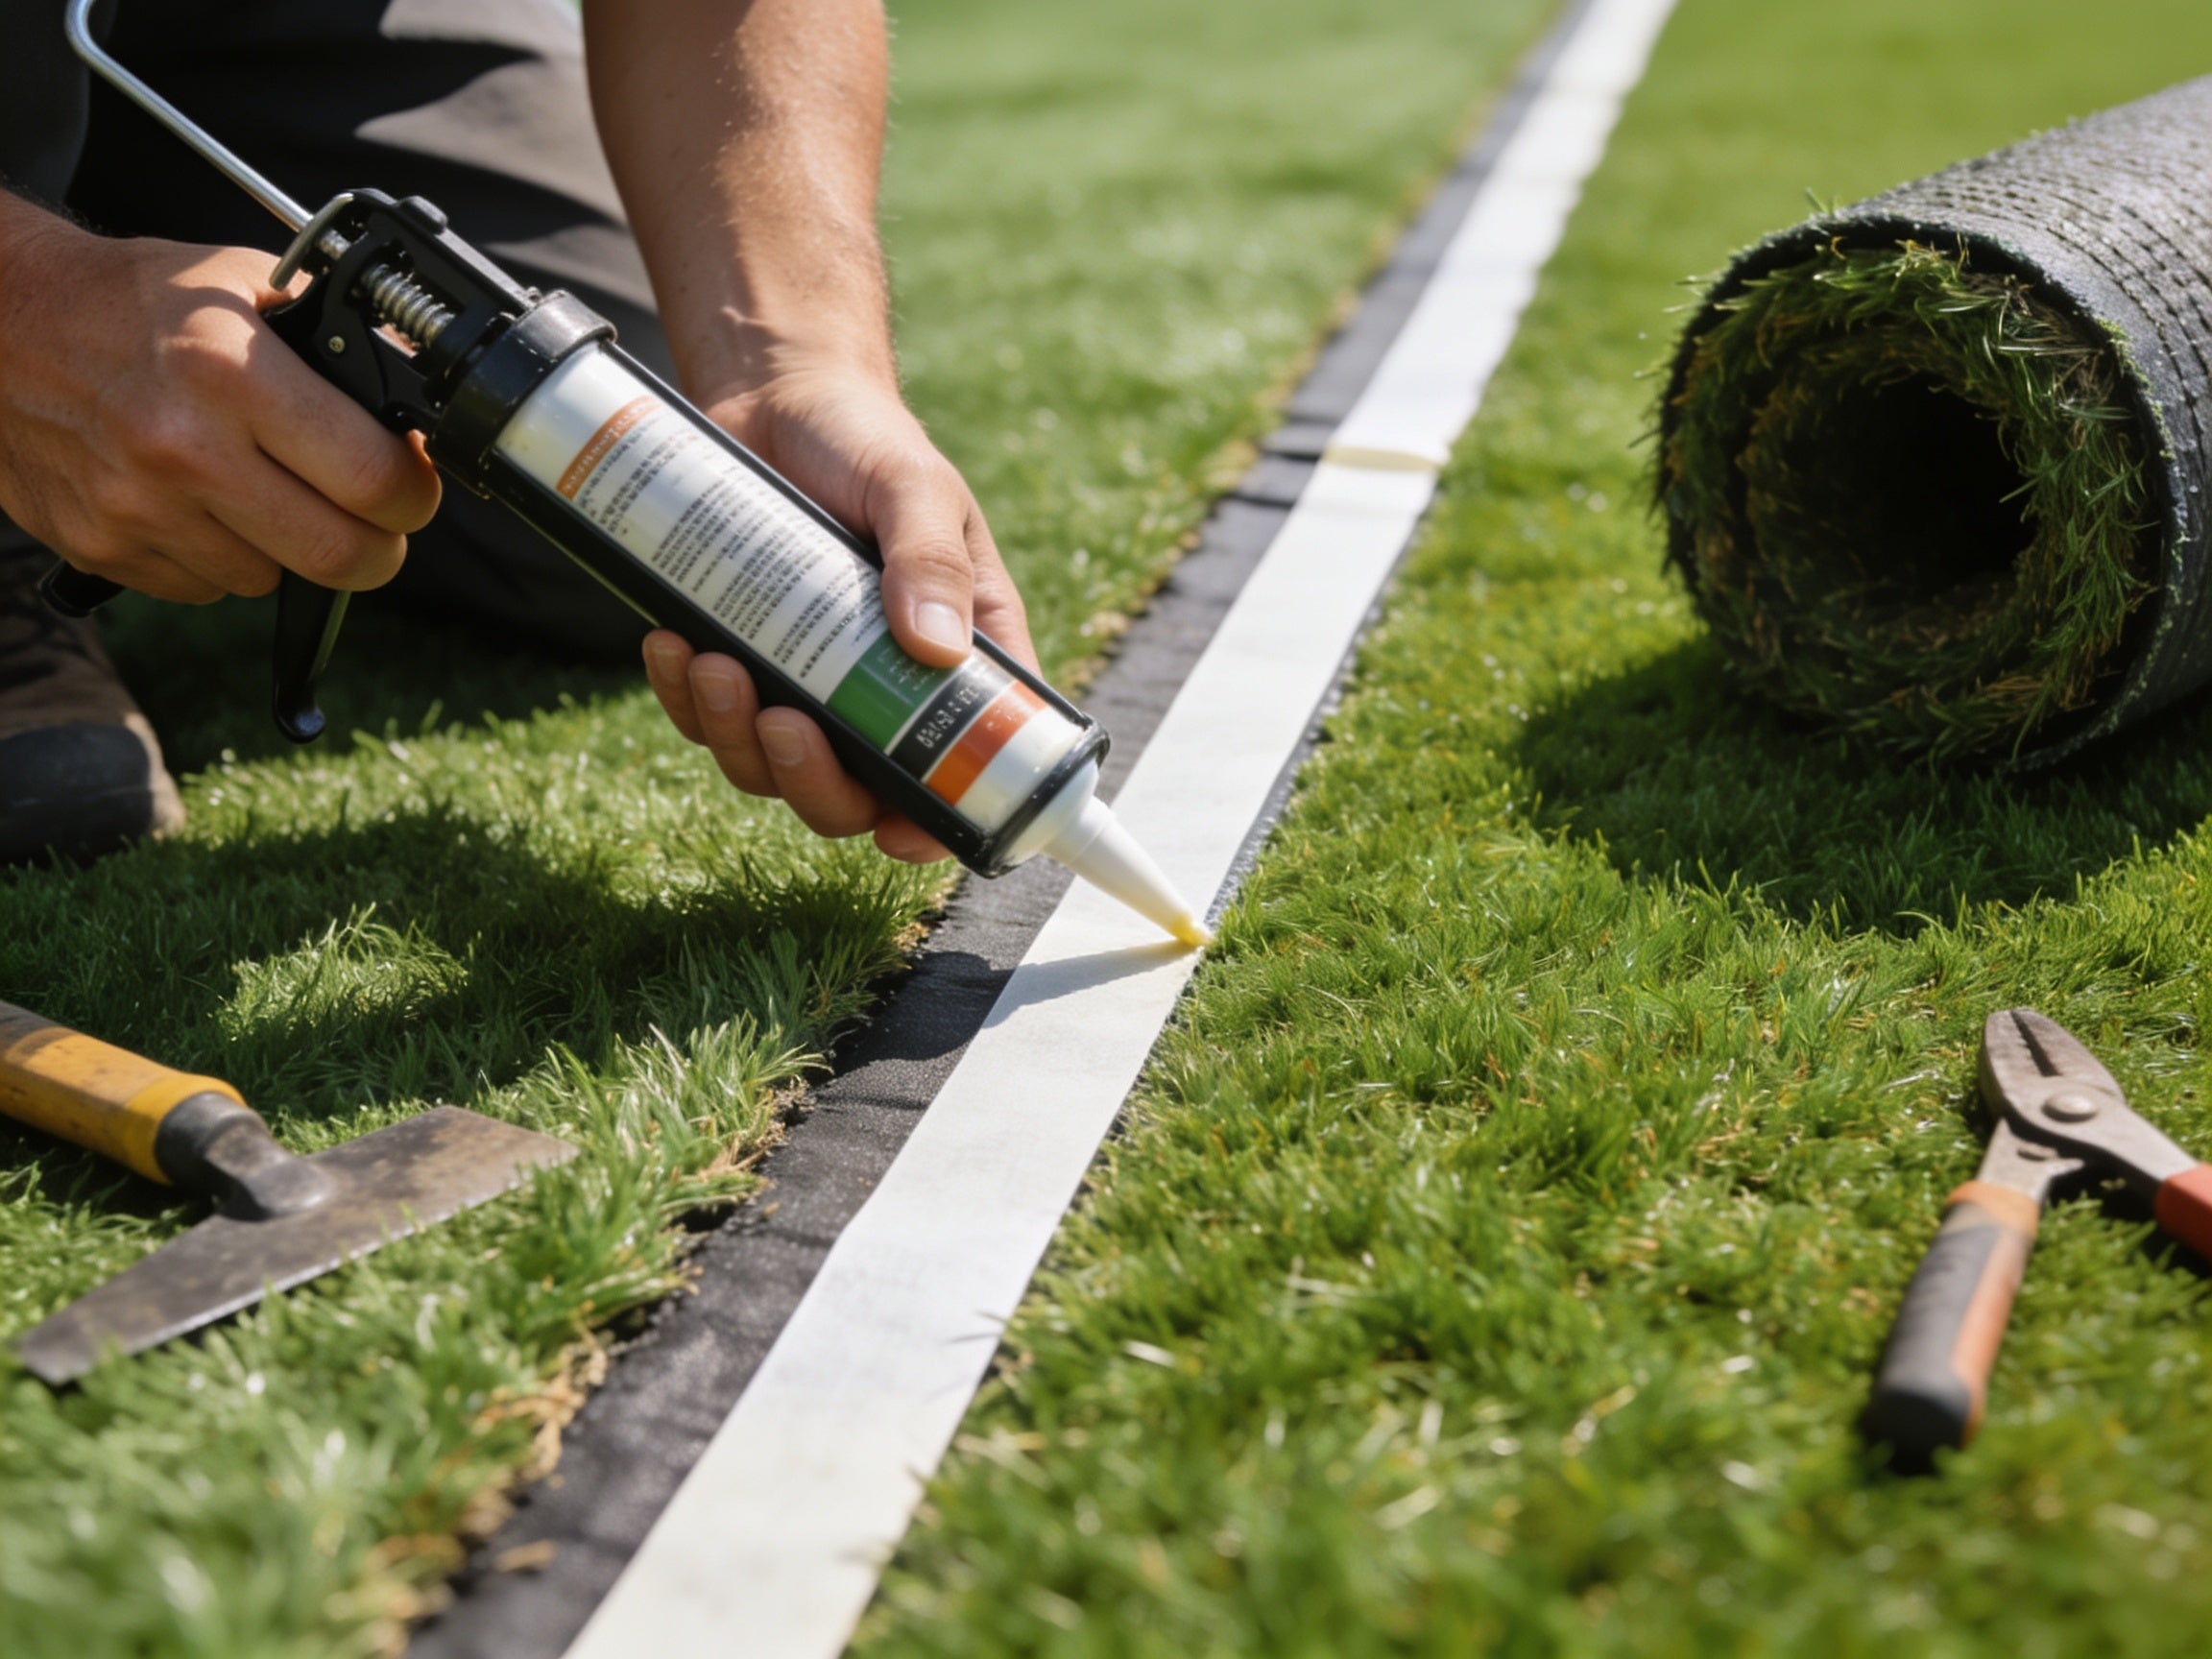
What's the Best Tape for Seaming Artificial Turf?
Buy the wrong artificial turf seaming tape and you'll see it every time you walk your lawn: a ridge, a gap, or a strip of backing peeking through the blades. Get it right and the seam vanishes — two rolls of turf become one continuous lawn. The tape itself is the easy part. Knowing which width to buy, how it pairs with adhesive, and how to lay it down without rushing the cure is what separates a seam that lasts a decade from one that's popping open by next summer.
This guide covers exactly that: what seaming tape actually does, how it compares to a glue-only seam, how to size and choose the right roll, the application steps that produce an invisible joint, and the upkeep habit that keeps that seam tight for years.
What Is Artificial Turf Seaming Tape and When Do You Need It?
Artificial turf seaming tape is a non-woven fabric strip — usually spun-bonded polyester — that sits underneath the gap where two turf rolls meet. You spread adhesive onto the tape, fold the turf edges back down onto it, and the tape becomes the bridge that holds both pieces together as one unit.
You need it any time your install is wider than a single roll (most turf ships 12 or 15 feet wide), which means almost every yard over 150 square feet, any dog run split into sections, and every putting green with a dogleg or irregular shape. Skip the tape and glue the turf backing directly to your base material instead, and you've built a seam that's guaranteed to fail — more on why in the next section.
Buy tape sized to your project, not whatever's cheapest online. A 6-inch roll works for repair patches and small residential seams. A 12-inch roll is the standard for full lawn installs and anything that will see regular foot traffic.
Seam Tape vs. Glue-Only Seams: Which Actually Holds Up?
Skipping the tape and gluing turf edges straight to compacted base material or concrete is the single most common seaming mistake — and the one installers get called back for most. Here's why it fails: turf expands in summer heat and contracts in winter cold. If you've glued it directly to a sub-base that doesn't move the same way, that constant expansion and contraction eventually cracks the bond. You get "mohawking," where the seam edges push up, or "gapping," where they pull apart and show a line of backing.
Seam tape solves this by creating what installers call a floating bond. The turf bonds to the tape, not to the ground, so the whole seam system can expand and contract together as one piece instead of fighting against a fixed surface underneath. That's why the tape-plus-adhesive method — sometimes called the glue box method — is the professional standard for everything from backyard lawns to sports fields.
The bottom line: tape isn't optional if you want the seam to survive more than one season of temperature swings. Treat it as structural, not cosmetic.
How to Choose the Right Tape Width and Type for Your Job
Three things determine which roll you buy: width, material, and whether adhesive comes pre-applied.
Width. 6-inch tape is fine for small patches, repairs, and tight indoor applications. 12-inch tape is the standard for residential lawns, putting greens, and any seam that will take regular foot or paw traffic — the extra surface area gives the adhesive more room to grip and spreads stress over a wider bond instead of concentrating it on a thin strip.
Material. Look for a non-woven, spun-bonded polyester or polypropylene base. It needs to be waterproof and tear-resistant, since it's sitting in direct contact with soil moisture and UV exposure at the seam line for the life of the lawn. Cheap woven fabric tape breaks down faster and lets adhesive bleed through unevenly.
Pre-applied adhesive or not. Some rolls come with a butyl or hot-melt pressure-sensitive layer already on one side — peel the backing, position, and stick. These work for small DIY patches but generally aren't rated for permanent, high-traffic seams. For a full install, buy raw fabric tape and pair it with a dedicated polyurethane turf adhesive, applied separately with a trowel or glue box. That two-part system is stronger, cures harder, and is what every reputable turf manufacturer specs for warranty coverage.
Skip nails and staples if you can help it. They hold the seam in place while glue cures, but a single cut thread or pulled staple gives vandals or aggressive digging pets an entry point that unravels the whole seam. Glue-and-tape spreads the load across the entire bonded surface, so one weak point doesn't take down the seam.
Step-by-Step: Applying Seam Tape for an Invisible Seam
- Dry-fit both pieces first. Lay the turf pieces edge to edge without any adhesive. Check that the grain (the direction the fibers lean) runs the same way on both rolls — mismatched grain is one of the fastest ways to make a seam visible no matter how clean the glue job is.
- Position the tape. Fold both turf edges back and center the tape underneath the gap, adhesive side up if pre-coated, or bare fabric side up if you're applying glue separately. Leave a consistent 3/8-inch gap between the two turf edges — too tight and you get a raised "mohawk," too wide and infill falls through.
- Apply adhesive in a thin, even bead. Run polyurethane adhesive down the center of the tape using a notched trowel or glue box, staying about an inch off the tape's edges so it doesn't bleed onto the turf backing or blades. A thick, uneven bead is the #1 cause of adhesive squeezing up through the seam and gluing fibers together.
- Fold the turf down and press. Lower both edges onto the wet adhesive like closing a zipper, working from one end to the other. Press firmly along the entire seam length, then weight it down — sandbags, boards, or a seam roller — while the adhesive cures.
- Let it cure fully before any foot traffic. Most polyurethane turf adhesives set in 30–45 minutes but need several hours (check your product's data sheet) to reach full strength. Rushing this step is how seams shift before they've actually bonded.
- Brush the seam to blend it. Once cured, brush the pile against the grain directly over the seam line to stand the fibers up and hide any remaining line where the two rolls meet.
Common Seaming Mistakes That Cause Seams to Fail
- Gluing directly to the sub-base instead of using a floating tape-and-adhesive bond — the #1 reason seams pop within a year or two.
- Buying the wrong width for the job — 6-inch tape on a full lawn install doesn't give the bond enough surface area for long-term traffic.
- Skipping adhesive on pre-coated tape jobs that see real foot traffic. Pressure-sensitive tape alone isn't built for that load; pair it with a real adhesive on anything beyond a small patch.
- Mismatched grain direction between the two turf pieces, which makes the seam visually obvious even when the bond itself is solid.
- Rushing the cure. Walking on a seam before adhesive reaches full strength shifts the bond before it's set, guaranteeing a gap or ridge later.
- Ignoring weather. Cold, wet, or windy conditions slow adhesive cure and make tape harder to position accurately. Check your adhesive's temperature range before you start.
Maintaining Seams Long-Term: Brushing, Infill, and Inspection
A properly taped and glued seam should outlast the turf itself — but only if you keep up with the same maintenance that protects the rest of your lawn. Infill migrates over time, and low spots at seams collect debris and moisture faster than the rest of the surface. Left unchecked, that buildup adds weight and stress exactly where the bond is doing the most work.
Run a power brush over the seam area during your regular maintenance passes to redistribute infill evenly and keep fibers standing upright instead of matting down and trapping grit against the bond line. A TurfoMax handles this in one pass across a full lawn, and its self-propelled design makes it easy to work slowly and deliberately over seam lines instead of rushing past them.
Inspect seams twice a year — spring and fall are natural checkpoints — for any lifting edges, gaps, or infill loss. Catching a small issue early means a quick touch-up with a repair kit instead of re-taping an entire seam section. If you're stocking up on tools for turf upkeep in general, our full product lineup covers everything from brushing to debris pickup.
Bottom Line
The right artificial turf seaming tape — paired with real adhesive, not skipped in favor of a shortcut — is what turns two separate rolls into a lawn that looks and performs like one continuous surface. Size the tape to your project, respect the cure time, and keep brushing the seam as part of your regular maintenance routine, and it'll be the last part of your lawn you ever have to think about. For more installation and upkeep guides, check out GreenSweep's Guides.