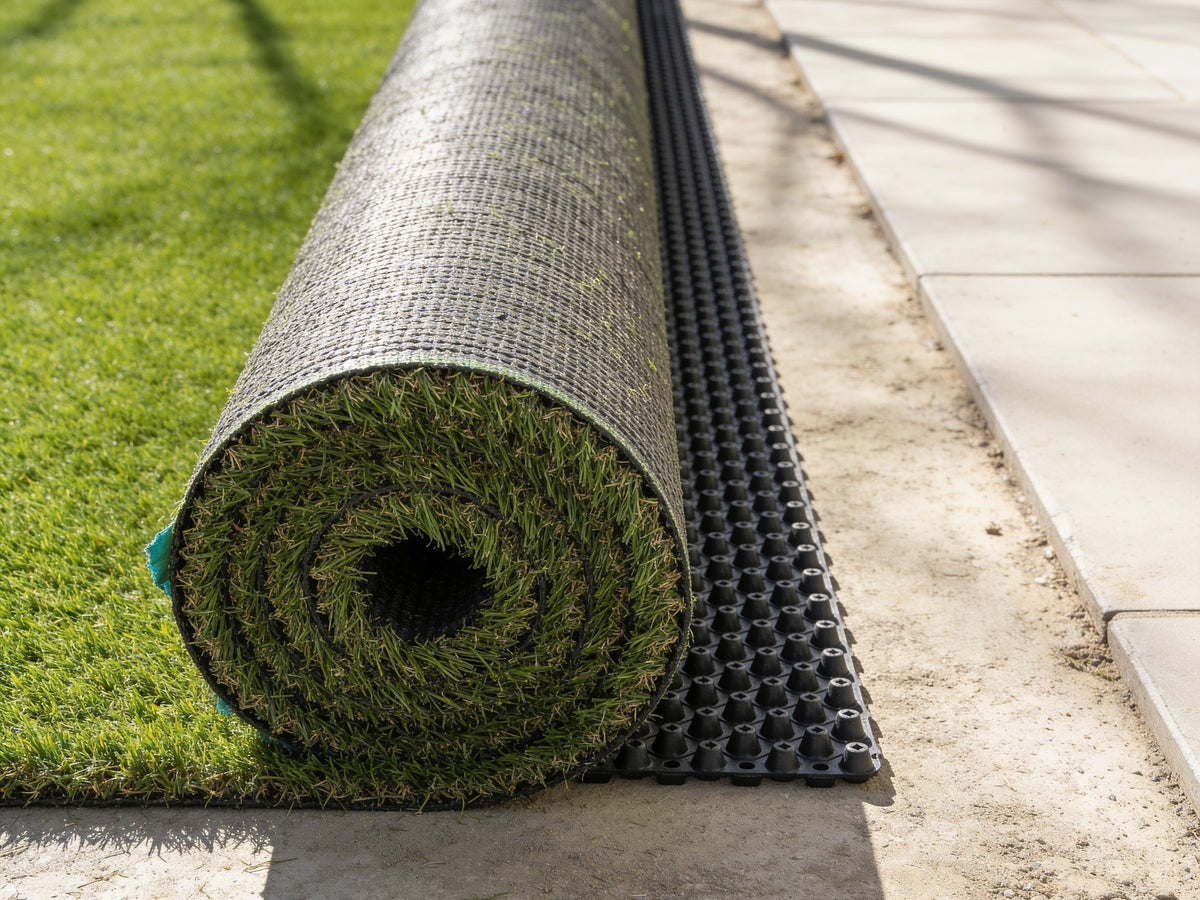
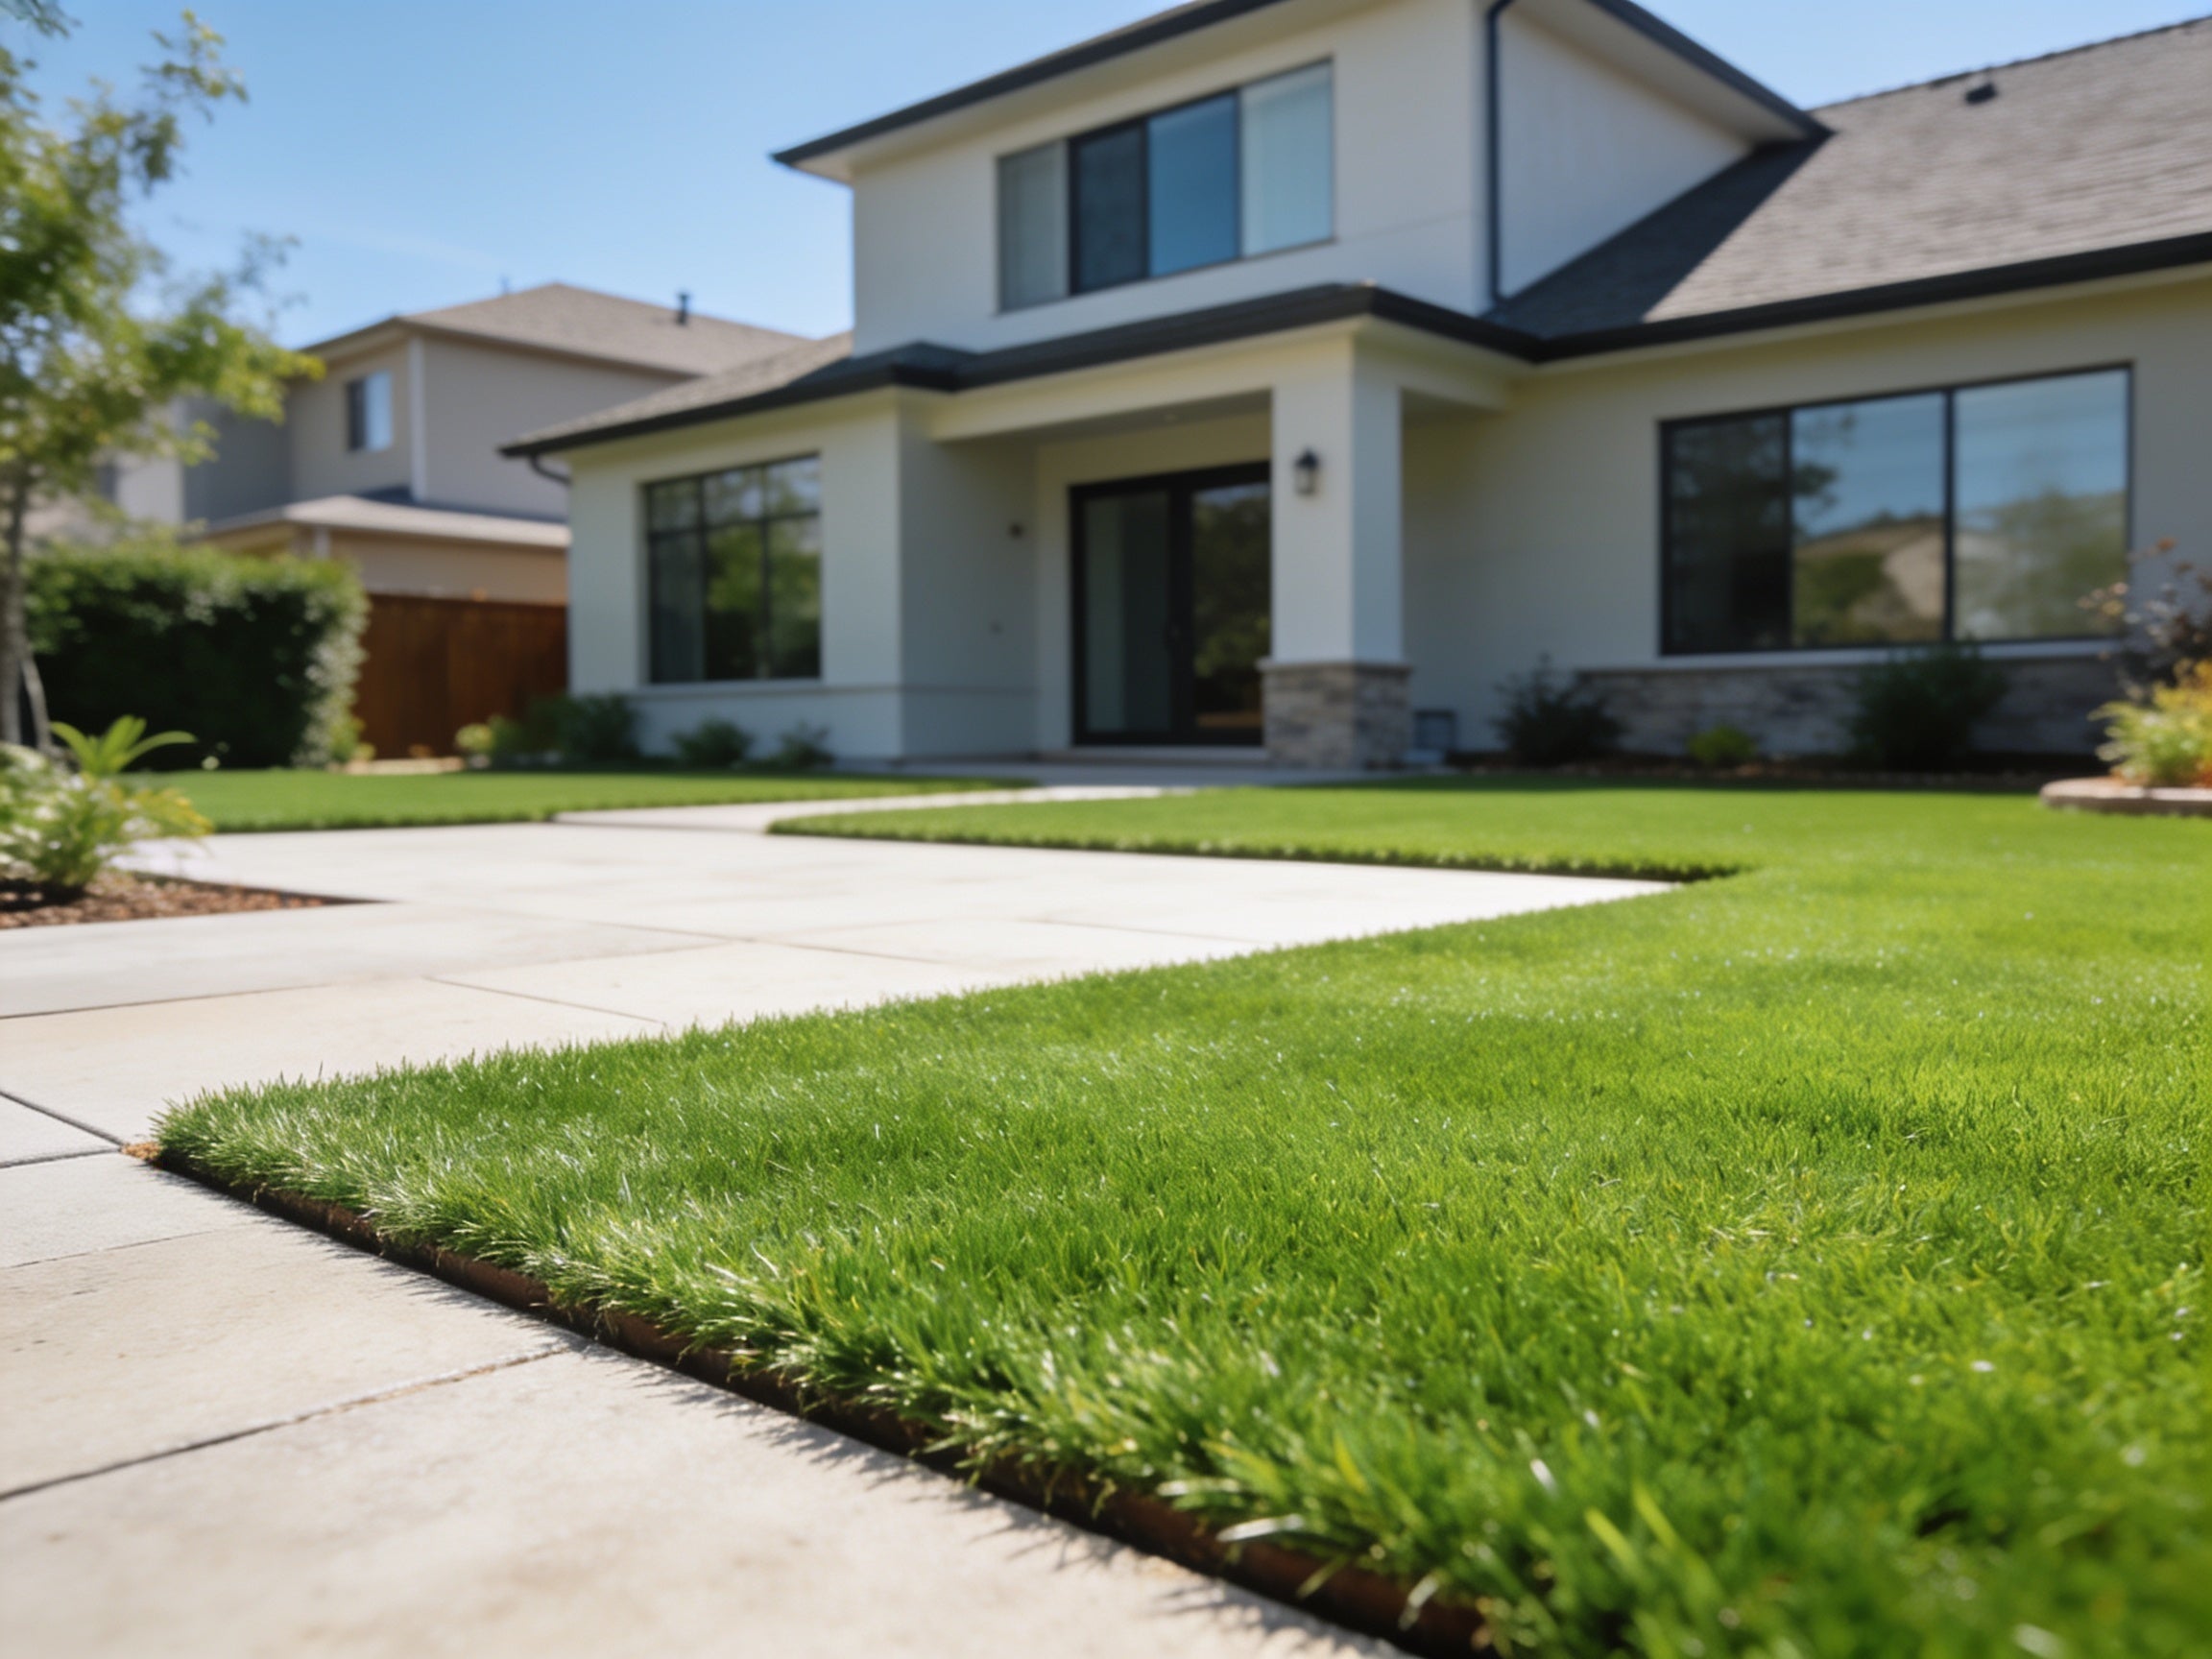
Artificial Grass Edging: Every Type Explained (and How to Install Them)
Artificial grass edging is the difference between a clean, professional-looking install and one that shifts, wrinkles, and falls apart within a season. Yet most guides either cover one edging type or skip the install steps entirely. This guide fixes that.
Whether you're finishing a backyard lawn, edging around pavers, or bordering a garden bed, this covers every artificial grass edging type — what each one is, where it works best, what it costs, and exactly how to install the most common method step by step.
Why Edging Matters More Than Most Installs Realize
Artificial grass doesn't grip the ground on its own. Without a secure perimeter, three things happen:
- Turf migrates. Even well-anchored turf can shift over months, especially in heat cycles where the backing expands and contracts.
- Infill escapes. Crumb rubber, sand, or cork infill bleeds out at unsecured edges — you lose it and your lawn goes flat.
- Edges lift. Once an edge starts lifting, foot traffic catches it, the backing creases, and you have an irreparable fold.
Good edging locks the turf perimeter so the backing is held under tension. It creates a defined border that holds infill in, resists lateral movement, and gives your lawn a finished look that holds for years.
The type of edging you choose depends on what you're bordering: soft soil, hardscape (concrete, pavers, walls), or mixed terrain.
The 5 Main Artificial Grass Edging Types
1. Bender Board (Composite or PVC)
What it is: A flexible, thin strip of composite plastic or PVC, typically 3–4 inches tall and sold in 20-foot coils. It bends around curves and is driven into the ground with galvanized landscape stakes.
Best for: Bordering garden beds, curved transitions, soft-soil perimeters where you need a clean line between turf and planting areas.
Pros: Highly flexible, handles tight curves without cutting, long-lasting, doesn't rust, holds its shape in heat.
Cons: Needs stake spacing every 12–18 inches to stay rigid; can buckle if stakes are too far apart on curves.
Cost: $1.50–$2.50 per linear foot installed (DIY materials ~$0.80–$1.20/ft).
2. Polyboard / Composite Edging
What it is: A stiffer, thicker composite board (typically 5–6 inches tall) designed specifically for turf installs. Favored by professional contractors because it provides a tall wall to secure turf against.
Best for: Straight runs, professional installs, any install where the turf edge needs to be held against a fixed board and stapled or nailed into.
Pros: Fast to install, economical, contractor-grade durability, gives a clean vertical face to fasten the turf edge against.
Cons: Less flexible than bender board — not ideal for curves; requires cutting for angles.
Cost: $1.00–$2.00 per linear foot installed.
Synthetic Grass Warehouse identifies polyboard as the industry favorite for professional contractors — it's fast, economical, and holds for years when staked correctly.
3. Aluminum Edging
What it is: Thin-gauge aluminum strips (1.5–3 inches tall) staked into the soil at the perimeter. Common in traditional landscaping and carried over to turf installs.
Best for: Clean, invisible edging where you want minimal visual presence; pairs well with gravel borders or low-profile transitions.
Pros: Very low profile, won't rot or rust, flexible enough for gentle curves, clean finish.
Cons: The low height means less surface area to secure turf against — not ideal as the sole edging if infill containment is a priority. Better as a secondary edge than a primary anchor.
Cost: $0.60–$1.20 per linear foot installed.
4. Galvanized Nails and Staples (Perimeter Nailing)
What it is: 6-inch galvanized landscape nails or staples driven every 4–6 inches along the turf perimeter directly into the compacted base. This is not a "border" — it's the method of securing the turf edge itself.
Best for: Used in combination with every other edging type listed here. After setting your bender board, polyboard, or hardscape adhesive, you still nail or staple the turf edge at close intervals to prevent lifting.
Pros: Essential step — cheap, quick, and does the actual work of holding the turf down.
Cons: Not a standalone solution. If used without a proper bender board or border in soft soil, the turf edge can still migrate over time even if nailed.
Cost: $0.10–$0.20 per linear foot in materials.
Spacing rule: 4-inch intervals at corners and transitions; 6-inch intervals on straight runs. Don't cheap out on nail density — this is where most DIY edges fail.
5. Tuck-In Systems (WonderEdge Style)
What it is: A patented channel-based system where the rough-cut turf edge is tucked into an open slot in the edging profile. No tight cutting required — you rough-cut the turf and tuck.
Best for: Hard borders (concrete, pavers, driveways) where you need a clean finish without adhesive. Also useful against walls and raised planters.
Pros: Extremely clean finish, forgiving on cut accuracy, faster than tight-cutting and gluing, removable for repairs.
Cons: Higher cost; system-specific installation; the channel must be anchored to a solid substrate for it to work correctly.
Cost: $3.00–$6.00 per linear foot.
Edging Against Hard Surfaces: Concrete, Pavers, and Walls
When turf meets concrete or pavers, you have two options:
Option 1: Adhesive bonding. Use a polyurethane turf adhesive or construction-grade adhesive (like Sikaflex) to glue the turf backing directly to the hardscape edge. Apply a bead along the concrete or paver, press the turf edge down, and hold with weights for 30–60 minutes. The turf edge should be trimmed tight before gluing.
Option 2: Tuck-in channel systems. Fix the channel track to the hardscape with concrete anchors, then tuck the rough-cut turf edge into the slot. Faster, cleaner, and allows for future removal.
For walls: fold the turf edge up the wall 2–3 inches and adhesive-bond it vertically. This hides the backing entirely and gives a sharp transition.
What to avoid: Leaving a gap between turf and hardscape. Any gap allows infill loss and lets the edge lift when stepped on.
Edging Against Soft Borders: Garden Beds, Fences, and Lawn
Soft-border situations — where turf meets a garden bed, fence line, or grass lawn — call for bender board or polyboard.
The workflow:
- Excavate the perimeter trench to a depth of 4–6 inches before base installation.
- Set your bender board or polyboard vertically against the excavated edge, with the top of the board at finished turf height.
- Drive galvanized landscape stakes through the board at 12–18 inch intervals (tighter on curves).
- Backfill against the board and compact.
- Lay your base, compact, then roll out turf over the top of the board.
- Trim the turf 1 inch past the inside face of the board.
- Fold the excess turf behind the board and nail at 4-inch intervals.
Handling curves: Score the back of bender board every 3–4 inches with a utility knife (don't cut through) — this lets it follow tight curves without buckling. For very tight radii, use thinner gauge bender board.
Step-by-Step: How to Install Bender Board Edging
Bender board is the most common DIY method for residential turf projects. Here's the complete process.
Tools needed:
- Bender board / composite edging
- Galvanized landscape stakes (12-inch)
- Rubber mallet or stake driver
- Utility knife
- Measuring tape
- 6-inch galvanized nails
- Nail gun or hammer
Step 1: Mark the perimeter. Use spray paint or marking line to define the exact turf boundary. This is your reference for board placement.
Step 2: Dig the trench. Dig a narrow trench (2–3 inches wide, 5–6 inches deep) along the marked perimeter. The trench depth sets the board so its top sits at the finished turf surface.
Step 3: Set the board. Place bender board vertically in the trench. The top of the board should be flush with — or 1/4 inch above — your planned finished turf surface.
Step 4: Stake it. Drive landscape stakes through the board holes (or pre-punch holes) into the soil. Stake every 12 inches on straight runs, every 8 inches on curves. The board should not flex when you push it.
Step 5: Backfill and compact. Shovel soil against the outside face of the board and compact it. This holds the board vertically.
Step 6: Install your base and lay turf. Complete your base preparation, then roll the turf over the board. Ensure the turf face covers the top of the board.
Step 7: Trim and nail. Trim the turf so its edge falls 1/2 to 1 inch past the inside face of the board. Fold or tuck the excess behind the board. Nail at 4–6 inch intervals with 6-inch galvanized nails — drive nails at a slight angle toward the board for extra holding force.
Common Edging Mistakes and How to Avoid Them
Insufficient stake spacing. Spacing stakes 24+ inches apart on a straight run feels fine at first. After one summer heat cycle, the board bows outward. Minimum 12 inches on straight runs, 8 inches on curves.
Skipping perimeter nailing. Setting the board and calling it done is only half the job. The turf itself must be nailed to the board. Without nailing, the turf edge migrates away from the board and the gap widens.
Ignoring grade change. If the ground slopes at the perimeter, your board needs to follow the grade — not run level while the ground drops away underneath. Gaps under the board allow turf edge to sag.
Tight-cutting before nailing. Cut turf approximately, then trim to final fit after nailing. Cutting too tight first leaves nothing to fold and nail — you lose your edge hold.
Edge lifting in heat. Turf backing expands in summer heat. If your nail spacing is more than 6 inches on a south-facing edge that gets full sun, expect lifting within two seasons. Go tighter on sun-exposed edges.
After the Edge: Grooming the Perimeter
Once your edging is set and the turf is down, the perimeter fibers will be pressed flat from installation. You need to brush them back upright — especially at the edge where the backing was folded and nailed.
A stiff-bristled grooming pass along the perimeter brings flattened fibers back to life and gives the edge a finished, professional look. The AstroComb 18" Turf Rake is built for exactly this — manual, lightweight, and gets into the perimeter where power tools are overkill.
For larger installs, the TurfoMax makes the full-lawn grooming pass fast — counter-rotating brushes lift fibers and redistribute infill that shifted during installation. Run it along the interior a few feet in from the edge, then finish the perimeter by hand.
The result is a lawn that looks like a professional finished it — because the detail work at the edges is what separates a great install from a mediocre one.
Browse the full range of turf grooming tools at greensweepco.com/collections/all — or head to greensweepco.com/pages/guides for more install and maintenance resources.