Artificial Grass Putting Green: DIY Build Guide and Real Costs
An artificial grass putting green beats a real one on every front that matters: no mowing, no watering, no dead patches after a hot July. Just a true, repeatable roll every time you step onto it. But get the turf spec or the base wrong and you wreck the one thing the whole project exists for — how the ball rolls. This guide covers what actually makes putting green turf play like a real green, what it costs to build yourself versus hire out, and the exact build steps that separate a green that rolls true from one that doesn't.
What Turf Actually Performs Like a Real Green
Not every artificial grass is putting green grass. Standard lawn turf has too much pile height and too soft a backing to hold a consistent roll — the ball drags, drifts, or dies early. Putting green turf is a different product built around one number: Stimp speed, the same rating greenskeepers use on real courses.
- Stimp rating 9-12.5. Entry-level putting turf runs 9-10; tour-grade nylon products hit 10-12.5. Higher isn't automatically better — match it to your skill level, since a 12+ green punishes a mediocre stroke as much as it rewards a good one.
- Pile height 0.4"-0.625" (10-16mm). Short enough for true roll, tall enough to hold infill without matting flat in month one.
- Nylon over polyethylene. Nylon fiber holds its shape under a rolling ball; PE is cheaper but crushes and drifts out of true faster.
- Face weight 30-40 oz/sq yd with an embossed or diamond-shaped yarn — this is what gives the surface its "check" (the slight grab that mimics real green speed) instead of a dead, frictionless slide.
- Cup placement 4" deep, 4.25" diameter — regulation size. Anything smaller looks off and throws your read on every practice putt.
If a listing doesn't publish a Stimp number, pile height, and fiber type, it's lawn turf being sold as putting green turf. Skip it.
Real Cost Breakdown: Materials vs. Professional Install
Cost swings hard depending on who's doing the labor, and size matters less than most people expect — complexity drives the number more than square footage.
| Approach | Cost per sq ft | 200 sq ft green | What's included |
|---|---|---|---|
| DIY kit | $5-$10 | $1,000-$2,000 | Turf, infill, tape/adhesive, cups — you supply labor and base materials |
| DIY, full build | $10-$18 | $2,000-$3,600 | Turf + crushed aggregate base + drainage + infill + cups, self-installed |
| Professional install | $20-$30 | $4,000-$6,000 | Full design, excavation, contouring, base compaction, seaming, labor |
| Tour-grade custom | $40-$50 | $8,000-$10,000+ | Undulated contours, multiple cups, premium nylon turf, drainage engineering |
The gap between DIY and professional isn't the turf — it's the base. Excavation, compaction, and drainage account for most of a contractor's quote, which is exactly the part a determined DIYer can do with rented equipment for a few hundred dollars instead of a few thousand.
Where DIYers lose money: skipping the plate compactor rental to save $80, then dealing with a green that develops soft spots and bad rolls within a season. Rent the compactor. It's the cheapest insurance in the whole build.
Step-by-Step DIY Build
- Design and mark the layout. Sketch your shape, cup placement, and any breaks or slopes you want. Mark it on the ground with spray paint or chalk before you dig anything.
- Excavate and remove sod. Dig out 4-6 inches across the entire footprint. Pull every root — anything left behind pushes up through your base months later.
- Build the base in compacted lifts. Add crushed aggregate (3/4" minus works well) in 2-inch layers, compacting each pass with a plate compactor before adding the next. Grade a 1-2% slope toward one edge so water has somewhere to go — a flat base is how you end up with standing water and soft spots.
- Shape any contours now. Mounds and breaks get built into the compacted base, not faked with the turf on top. This is the step that separates a green with real, learnable breaks from a flat mat with a cup in it.
- Roll out the turf and let it acclimate. Lay it in the sun for an hour before cutting — it relaxes and lies flatter once it's warm.
- Seam and secure. Butt edges tight, tape and glue every seam from underneath, then trim the perimeter clean with a fresh utility blade.
- Cut cups and set them flush. Cut through turf and base to sink regulation 4.25" cups exactly 4 inches deep, level with the surrounding surface — a cup that sits high or low throws off every read.
- Infill and brush. Spread silica sand infill (roughly 1-2 lbs per sq ft), then brush it into the fibers against the grain so the blades stand upright instead of lying flat.
Tools You'll Need (and What to Rent vs. Buy)
Split your tool list by how often you'll actually use each piece again after this one project.
- Rent: plate compactor (the single most important tool on this list), sod cutter for large areas, and a wheelbarrow if you don't own one. These run $50-$120/day at most equipment rental counters and aren't worth owning for a one-time build.
- Buy: utility knife with fresh blades, tape measure, spray chalk, a stiff push broom, seaming tape and outdoor adhesive, and a cup cutter if you're installing more than one hole. All cheap, all reusable on future projects.
- Optional but worth it: a laser level for dead-flat perimeter edges, and knee pads — you'll spend hours at ground level during seaming and cup-setting.
Keeping Ball Roll True — Maintenance That Matters
This is the part almost every install guide skips, and it's the reason greens that started fast end up slow and inconsistent within a year. Infill settles unevenly under foot traffic and ball impact, and fibers mat down in high-traffic lines between cups. Both kill Stimp speed exactly where you notice it most — mid-putt.
The fix is mechanical, not cosmetic: brush against the grain on a regular cycle to redistribute infill evenly and lift crushed fibers back upright before they set permanently flat. Hand-brooming a full green works, but it's slow and inconsistent pressure means inconsistent results across the surface — exactly what you're trying to avoid on a putting green.
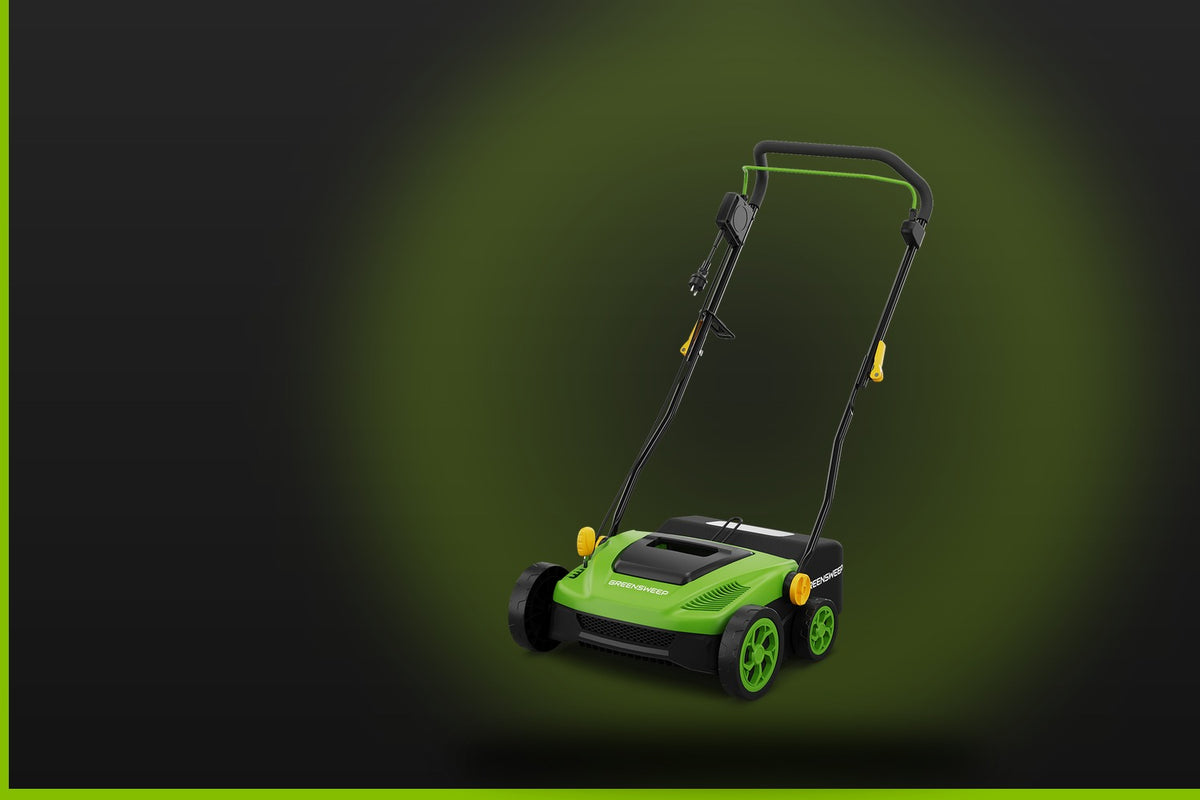
- For a standard backyard green, the Reviver is sized right — corded, 1,300 RPM, 12" brush width, with variable speed so you can dial the RPM down for a delicate putting surface instead of running one aggressive setting across the whole green.
- If your property has a larger green or you're maintaining turf professionally across multiple sites, the Pro Series runs a 208cc Briggs & Stratton CR950 engine built for exactly that volume of ground without babysitting a cord.
- Run a brushing pass every 2-3 weeks during regular use, and immediately after any infill top-up, so new sand settles evenly instead of pooling in low spots.
Full maintenance schedules and infill top-up guidance for every turf type live on our guides page — worth a look before your first brushing pass, not after your first bad putt.
The Bottom Line
An artificial grass putting green only plays like the real thing when the turf spec, the base, and the upkeep all get treated as one system. Skip the compaction step and you'll fight soft spots forever. Skip the brushing routine and a green that rolled true on day one will be inconsistent by month six. Get the base right, pick turf with a real Stimp number, and stay on top of maintenance, and a backyard green outlasts almost anything else you could build in that spot — DIY or professional.
Ready to keep your green rolling true? Check out the Reviver for backyard-sized upkeep, or browse the full maintenance lineup on our guides page.